Showing posts with label Sewing. Show all posts

Wednesday, February 19, 2014

Recent sewing

Well, I've been trying to get back into sewing more. Of course, the fact that my girls and myself are running low on clothing helps :)

First, my youngest has been asking for more flannel nightgowns for over a year. They are so easy, not sure why I put them off for so long. Now I want to keep making them but she has enough. I'll have to try it in knits over the summer. This is the Kwik Sew pattern. That shiny flannel backed satin was terrible to sew. That's why it's been in the bottom of my stash for at least 8 years!


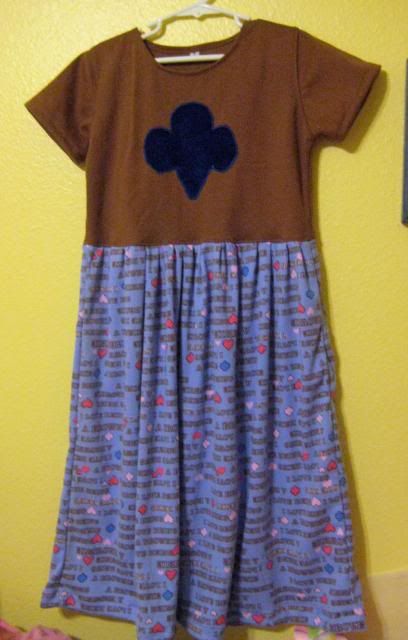
Next up was a Girl Scout dress for my youngest. She always wants to wear a dress and the leader always says to wear a GS shirt... problem solved!

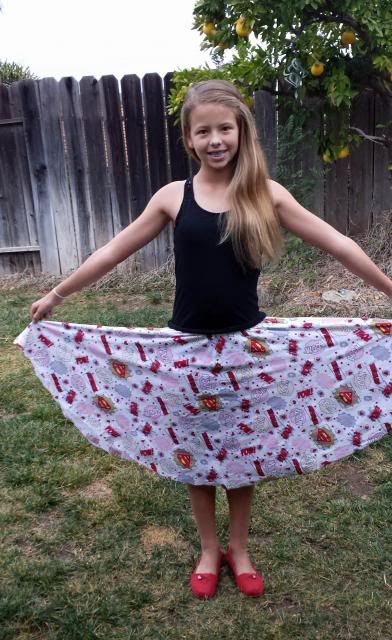
a super-girl (superhero) skirt for my older girl. She needed something quick for school and a fun circle skirt was perfect


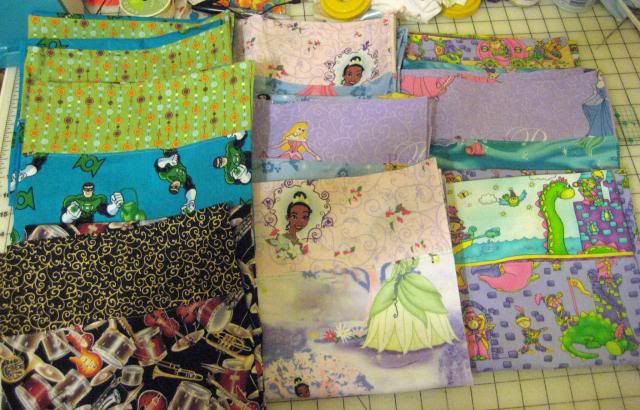
and pillowcases to donate to my unit at work. I love making these and they are the perfect use for that fabric that no one loves in my house of growing up kids.

   
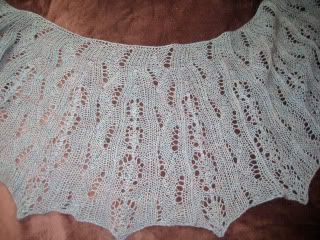
This is a beaded lace knit wrap that I was testing for a friend. I'm loving it!


Monday, December 9, 2013

Crazy craft season

I know my fellow crafters feel the crunch.

These are the weeks when we have to get down to business and get some crafting done!

My to-do list:
1-3 more Christmas dresses for my little one.
a holiday season skirt for myself
finish crocheting wrist warmers for dd1
headband for dd1 (or two)
sew up totes for all the teachers (with 2 kids in middle school this has become a major project!)
sew up/craft something for dh's bosses

today! --- finish up ornaments to hand out to people at our church event tonight, buy something to become a centerpiece for the table, make sure the boy gets some school work done :) , Christmas shopping, and shower!


Tuesday, August 13, 2013

1st day of school sewing


My youngest is going back to the local public school this year and today was the first day of 2nd grade for her.


This little 7.5 year old is an artist and my strong willed child who knows what she wants and doesn't go with the crowd. Due to this, her clothing sometimes is a little interesting, but usually it works. Being the first day of school, she 'needed' a new dress. In reality, she really does need some new dresses because she has a lot that are way too small (over 2 years old) and worn out (worn by her sister for 1-2 years and then her for another 2 years).

She decided that she wanted an owl dress and found this cute Alexander Henry owl fabric in my stash. Then she decided she wanted to have an owl on the top. I drew one but then she wanted to draw it herself. Of course, this made the process take a lot longer in time, but turned out very cute. She picked the fabric for pieces and put them together. Picked the colors for all the fabrics. She instructed me on what type of stitch to do and drew the finer details on the owl for me to sew over them. As we went along she changed a few features in her design, but it worked out.  She specifically told me not to make the face round and keep the circle not a circle (which did drive me a little crazy).


Tuesday, July 9, 2013

4th of July

Well, the 4th of July has passed and was a fun day.

At the beginning of the week my girls decided they HAD to have new outfits for the 4th. We didn't have any big plans, but they wanted something new. So, I told them to look in the sewing room and find some fabrics and think of a design.

My younger girl is 7 and decided on a tiered dress in a few fabrics. We had a few problems with her first plan (it wasn't quick and easy for Mom), so this was plan B.

The pattern is McCall's 5798. I just saw that it's OOP, which is sad, because it's a nice pattern. It's one of those that looks better sewn than it looks in the drawings.


My older girl wanted to design her own outfit. I wasn't so sure of the style she wanted, but I have to admit, it turned out better than I even came  close to imagining. She wanted a romper style outfit. Basically we made a pair of shorts and attached a rectangle of fabric to the top of them :)
Hints for those making one of these --- For the shorts, you'll have to cut off a bit from the top because you will have no elastic at the top where you normally fold them down. Her shorts were a touch too small, but in general, you'll need a drawstring or elastic at the waist somewhere.
The top was a rectangle (folded the fabric in half and cut across the top and bottom) with loose elastic at the top. The straps cross at the back and snap.


Sunday, February 10, 2013

back to sewing

I've had a creative lull the past two months. I have looked and patterns, styles and so many lovely photos of items I love... but just not sewing. Near the end of this week, I finally got my sewing groove back. Unfortunately, due to family visiting, my sewing room was being used as a bedroom and not very accessible for sewing.

Today things were back to normal. Yeah!

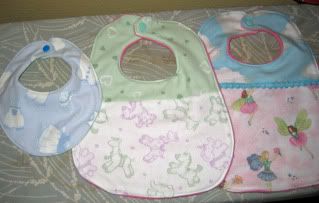
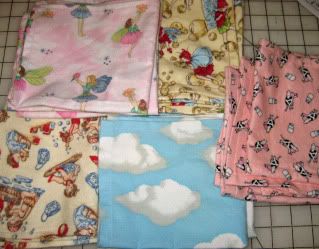
I was in the mood for baby sewing today. Luckily, I have a good friend who just had a sweet baby girl. I've not done any baby sewing a long time, so I had to some serious stash digging, but I found those baby fabrics. Flannels, chenilles, and sherpas.

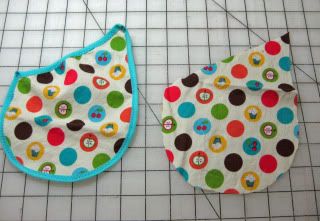
Baby bibs:


Next up, since I had the flannel boxes open and realized I really need to get down to just one box of flannel, napkins. We've been using cloth napkins for about 8 years. About 75% of the napkins we are currently using are from the first year we made the switch... and they look like it. Time to retire some of them and make some new ones. One thing I have realized over the years is that I strongly prefer flannel. I have made napkins out almost every type of fabric and flannel is the best, in my opinion.


Two weeks ago I made her this little doggy dress. The skirt is from Sew Baby's Twirly Dress pattern. We've had the shirt for about 4 years. It was a hand-me-down to my first daughter from a friend. My girls weren't crazy about it for some reason, but they both think it looks great as a dress. (she really likes it, just not in the mood for a picture at this point because she was busy).


Photobucket

And to top off this creative summery - A wrap that I just finished knitting. A wonderful pattern that I was testing and really enjoyed making.


Friday, December 14, 2012

Hooded Scarf

I'm going up to the mountains with my older Girl Scout troop this weekend and it's going to be cold!
Living in Southern California, I don't have weather for freezing weather and for that trip to see the snow maybe twice a year, I just manage to put together something. This weekend we'll be outside doing stuff all weekend and it'll be possibly snowing all day Saturday. I had to develop something.

A hooded scarf was what I wanted. So, I started to knit one up. I hit a point last night when I realized that I would not be completing this project in the next 24 hours and had to come up with plan B.

So, this morning I made one from fleece that I had bought many years ago. I love it.

How to make one (sorry no pictures of the process):
1. fold fleece in half. Find a hooded shirt/sweatshirt that fits well and trace the hood onto the fabric, leaving about 3/4 inch  of fabric between the edge of the hood and your cutting line (seam allowance). I actually didn't trace mine, just cut it.
This will give you 2 halves of a hood. If you want it lined, make 2 more halves.

2. Sew the two halves together, along the curved side only. If you have a second set, do this to this one too. Then trim the curves and put the 2 hoods together, right sides together. Sew along the front edge (the part that will be by your face). Flip right side out and topstitch.

3. Cut another long piece of fleece as long as you want the scarf by double the width (you'll be folding it in half longwise). Open it up so you have a flat rectangle. Place the hood's raw edge along the edge of the scarf, centered. Roll the hood a little and fold the scarf in half longwise, encasing the hood. Sew along the long edge of the scarf, catching the hood edge.

4. reach into the tube and reverse the scarf, so it's right side out. Tuck in the ends and sew. top stitch if you wish.

Some lovely pre-shower pictures.

Friday, November 16, 2012

Over the top Tunic

Back to reviewing patterns and getting my crafting self busy again.

While I love wearing skirts and a t-shirt much of the time, I've found I want to wear jeans some days. That said, I'm not crazy about the look of t-shirts with jeans on me. Add to this, my shape isn't easy to find clothing for, so I've been on the search for a variety of tunics and longer tops that cover the waist area well, without making me look six month pregnant. This seems to be a big challenge.

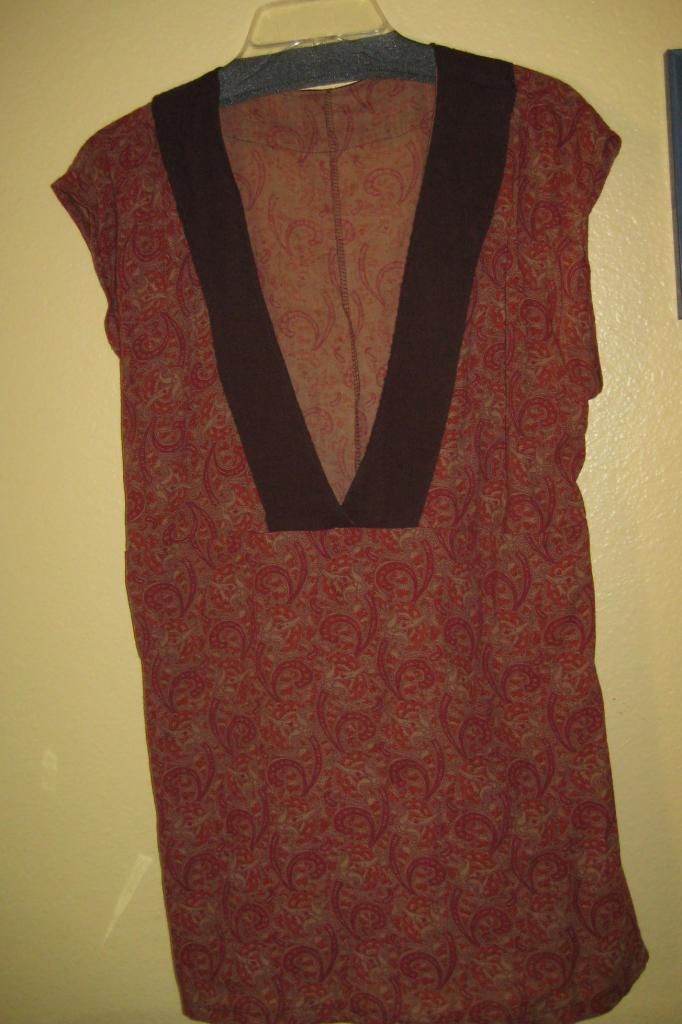
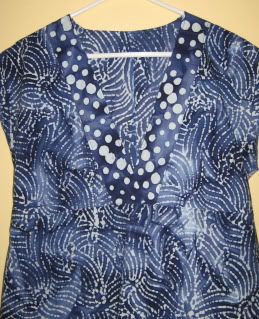
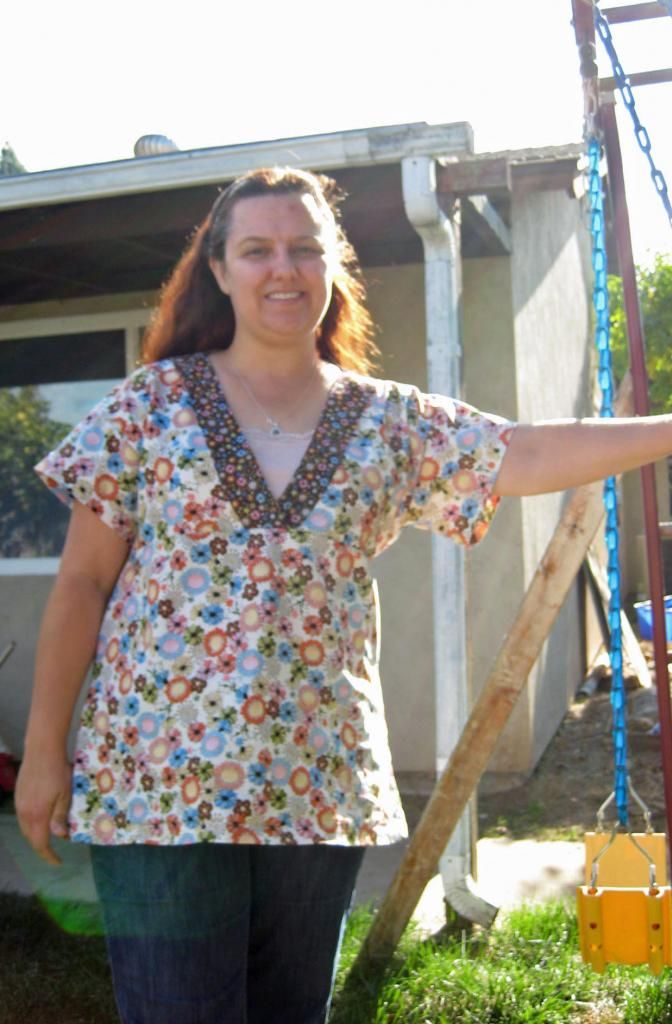
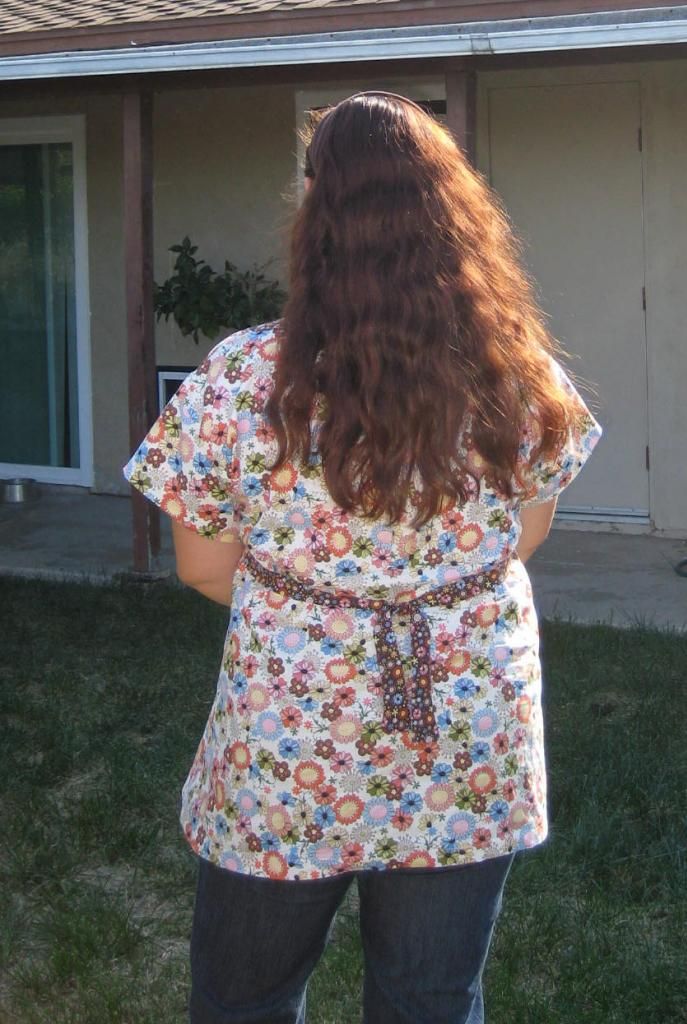
Indygo Junction's "Over the Top" tunic is one I do really like. I have made it three times and haven't been disappointed.

The first one I made was out of crinkle gauze and sleeveless. LOVE it! I didn't like how the ties looked on this and ended up sewing this with a little bit of a curve at the waist, cutting out the ties, and it gave it a better fit. This version, my first, I made by cutting the back piece as two and sewing together. In more recent ones, I just cut on the fold and adjusted the facing.


The next one was also sleeveless but out of a nice cotton batik. I put the ties on this version and like it too.


The sleeveless versions have been great basics for me. Worn with a tank in the summer or a long sleeve shirt in the winter.

I decided to give the sleeves a try recently. I didn't like the longer bell looking sleeves, so I cut them short. This one also has the ties, but I'm thinking of cutting them out and resewing with a slight curve at the waist. As with the others, I had to take in the front shoulders a little to fit me better. I have broad shoulders and a smaller chest, so often tops don't fit me correctly.

Friday, February 3, 2012

Jean conversion skirt

I've seen these for years and really wanted to make one, but was just being lazy.

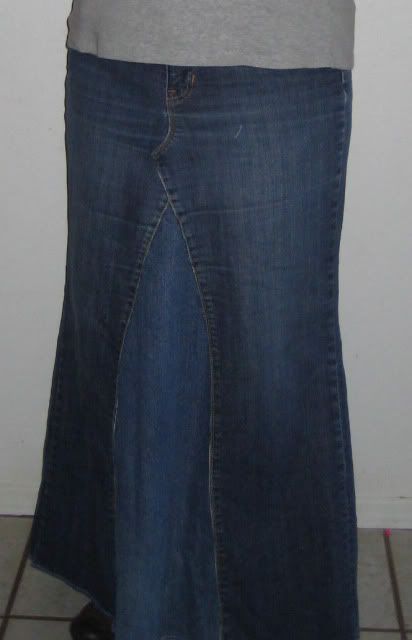
A few months ago, I bought some jeans at a local thrift store to make myself a skirt or two. Time when by and they sat in my sewing room. Finally, the day came to make my skirt!

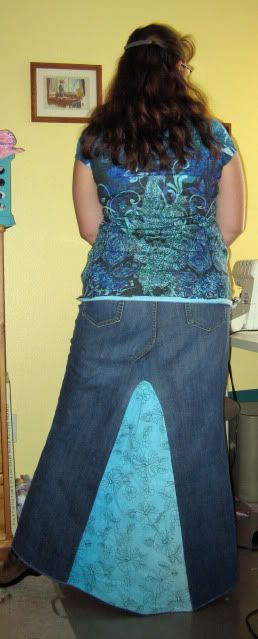
This was my first attempt. I checked out a few tutorials online and got the idea of how to do it. Next time I'll make it a little shorter. I do love this super long skirt, but it's hard to walk in at times, especially steps and it was hard to get into our van wearing it.

My next one will also be all denim instead of this version with the blue fabric in the back. It turns out it matches this one shirt and sweater I have quite well, so I'll leave it on this skirt.


Monday, September 5, 2011

Not so perfect crafter (and an apron pattern)

It seems there are 2 types of crafters. Those who strive to make something as close as possible to perfection and those who do not. I'm definitely more in the second category.

Martha Stewart, I am not.

Sometimes I think I should rename my blog something like "mistakes not to make in sewing" or "type B sewist". I'm not a perfectionist and I'm ok with leaving mistakes visiable, to a point.

When making something like pjs for my kids, I really don't care about mistakes, short of when I acidently sew the sleeve to the neck or something unwearable like that (yes, I've done it). When I make a mistake I first think, who will see this? Just my family, not such a big deal. Then does it effect the function or will I cringe every time I see it. If yes, I try to fix or cover it.

Some mistakes this week :)

I made another apron. This is Butterick  5263. I love aprons with full coverage. This pattern was written to be reversible (double layered) but I didn't want this. I didn't want the heat or to waste fabric. (plus, I didn't read the directions but I would have done this even if I did read them).  Often I use patterns just for cutting out stuff and I really should read more :)
Anyway, I found this super cute fabric in a remnant bin of a local store a few months ago and it YELLED "make me into an apron!" I wish I had more because I only had enough for the front.  Oh well.


I'm starting to think I'm required one stupid mistake per sewn item. So, for this item, my stupid mistake was cutting both pockets with the fabric facing  the same way. Yes, right sides together is how to do it and some how I managed to mess it up. Luckily, I had more of this fabric and fixed it.


mistake number 2 - when sewing FOE or binding, it's best to start at the same place on each pocket. Yes, another "oh-well".


I used some vintage buttons I got in a swap years ago for the back.


Overall, I love it. Nice full coverage and comfy.
So, modifications to this pattern:
- not reversible
- used FOE instead of binding for the pockets
- because it's not reversible, I turned & top stitched the edges.

Thursday, August 11, 2011

How to sew a kerchief


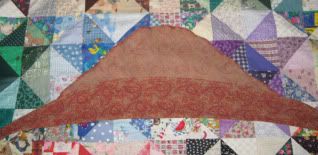
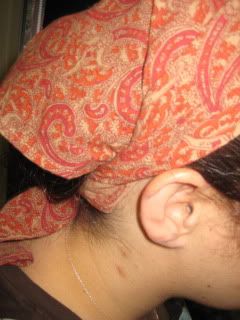
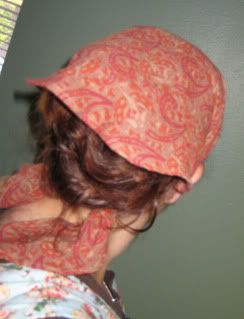
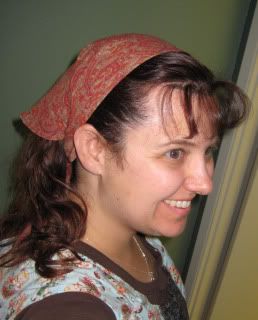
I've been asked by a few people to write up a step by step guide to cutting/sewing a triangle kerchief. Really, they are very easy but I understand some people are more visual. (This is a repost from my old blog).

At the end I will show how to make this into a rounded headscarf  - more like a veil.

My brown triangle tichel/kerchief that I am wearing in previous photos is a 36 inch square cut in half to make a triangle. This one is a little smaller, but another size I like. If you want to be able to wrap the ends up fully around the head in a crown tie, you'll need to make a larger sized one - probably at least 30 inches. I'd say maybe try measuring your head and seeing what the total length you need to go around your head in the fashion you desire. This will be the length of the long edge of the triangle. Once you get the basics of making these down, you can adjust and play with the shaping of your scarf to make it fit your needs and likes.

I like to use light weight/thin fabrics the best. One of my favorites is cotton gauze. Lately, I've been just trying to use up fabric in my overflowing stash.

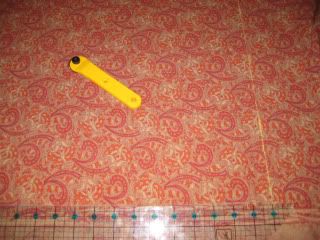
First lay your fabric flat. To make cutting easier, I folded my fabric in half. If you wish to just mark the fabric, you can cut it without folding it. If you fold it in half, make sure you divide your desired width in half.

This one is going to be a square 28 inches wide (then cut into a triangle). So measure your width (over the fold) and then measure the length (same direction as the fold). Draw a line or cut directly using a rotary tool and ruler.


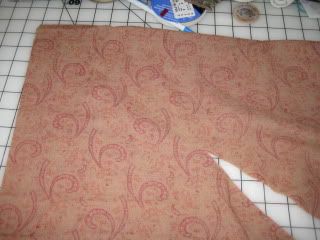
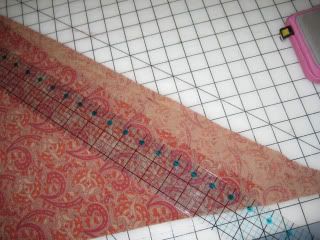
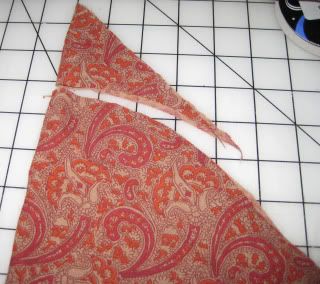
Now you have a square. Draw a line from one corner to the other and then cut - making 2 equal triangles.


Now we'll work with one of the triangles.

I don't always cut straight when sewing for myself, so I fold it over and make sure it's even. If not, I'll trim the edge to make it even.


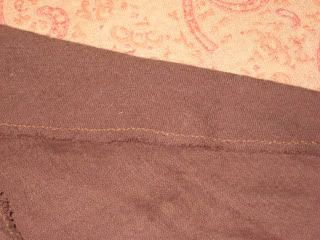
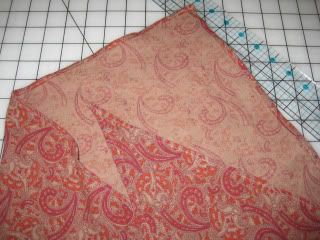
 The most basic thing is to just hem or finish the edges and leave it a triangle. For my brown one, which had no obvious right side, I just finished it with a narrow zig-zag stitch. I tried to show it in this photo by adjusting the color of my photo - use the same color thread so it blends :) . Gauze and many other light weight fabrics will frey (come apart) so you must do something to finish the edges. Sewing a zig-zag stitch around (ideally twice) will give it a rustic look more-so than a double pressed edge.


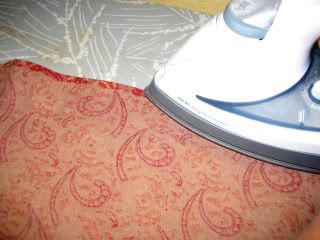
For the printed one I'm showing here, I am sewing  double pressed edge because there is an obvious right/wrong side. If you have a serger, you can do a rolled hem. Lay your triangle flat and iron a narrow hem. Then go around again, folding a second time, so you cannot see any raw edges. Then sew with a straight stitch. You can even do this by hand if you don't have a machine.


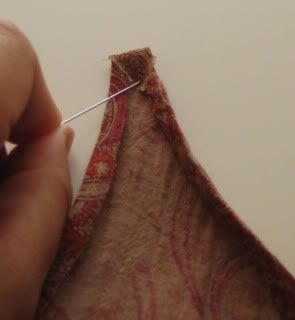
When you get to the corners, you may have to tuck in the edges or you will have long pointy, almost string-like, ends. I like to fold down the tip (sometimes even trim just a pinch off of it) and tuck it in.


End then you are done -you have a basic triangular headscarf that can be worn many ways  :)


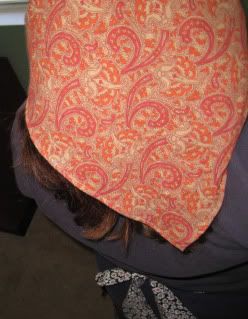
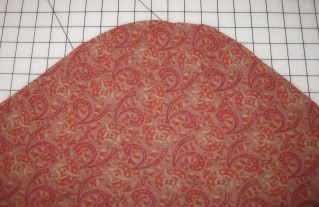
Now, if you want a more rounded veil like scarf, you just cut a little differently. When you get to the point of having a triangle, after making sure it's even, you'll cut a slightly rounded curve at the end that will hang down in the back. I like to do this on the fold to make sure I cut evenly, but you can cut it however you wish. After you cut it, hold it up and look at it, try it on, and see if it is more or less the way you want it (remember you will be hemming it).


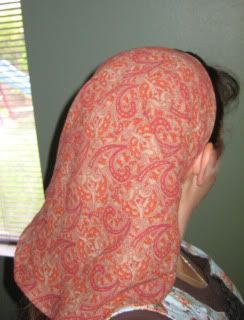
Then hem like you did above and this gives you more of a veil type headcovering.


I sometimes wear mine longer and sometimes fold them shorter.

Worn long without any folding.


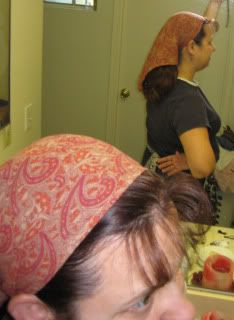
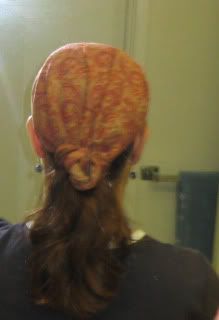
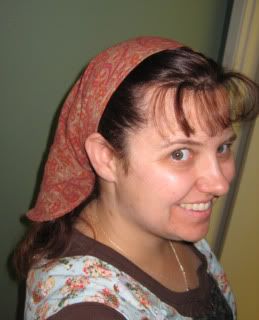
If you fold it shorter and nice style is to twist the ends before tying.


I like this style because it can be worn with the hair up or down.


I hope this helped a little bit. I'll try to add some more instructions on how to sew various headcoverings in the future.

Saturday, August 6, 2011

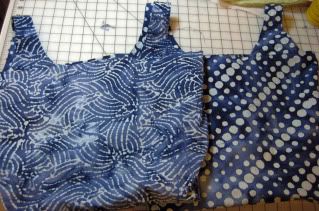
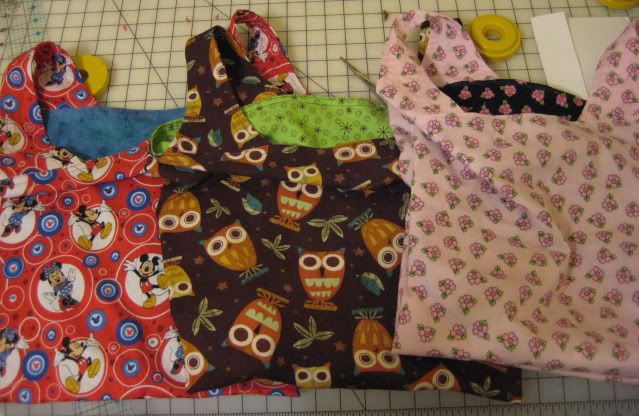
Grocery Tote Sewing

I love making these bags! The pattern is the Grocery Tote by  Keyka Lou.  She sells both on Etsy and via her store. So far, I've sewn up two of her bags and they are wonderful. Easy and clear directions and not a bunch of stuff that you really don't need to see in her pictures. 
I made these today out of some left over fabric (I'll make another post later this week showing the tunic I made and reviewing that pattern). The bags are reversable and washable. 

Last year I made these at the end of the year for all of the kids teachers. It was great because they got to choose the fabric and personalize them. The teachers all loved that their bags were made with prints in their favorite color or favorite colors (or both). I'm always getting asked where I got the bags when I'm out and about at the stores too. My youngest daughter even has one with pink dogs on one side and Disney princesses on other.