I've been asked by a few people to write up a step by step guide to cutting/sewing a triangle kerchief. Really, they are very easy but I understand some people are more visual. (This is a repost from my old blog).
At the end I will show how to make this into a rounded headscarf - more like a veil.
My brown triangle tichel/kerchief that I am wearing in previous photos is a 36 inch square cut in half to make a triangle. This one is a little smaller, but another size I like. If you want to be able to wrap the ends up fully around the head in a crown tie, you'll need to make a larger sized one - probably at least 30 inches. I'd say maybe try measuring your head and seeing what the total length you need to go around your head in the fashion you desire. This will be the length of the long edge of the triangle. Once you get the basics of making these down, you can adjust and play with the shaping of your scarf to make it fit your needs and likes.
I like to use light weight/thin fabrics the best. One of my favorites is cotton gauze. Lately, I've been just trying to use up fabric in my overflowing stash.
First lay your fabric flat. To make cutting easier, I folded my fabric in half. If you wish to just mark the fabric, you can cut it without folding it. If you fold it in half, make sure you divide your desired width in half.
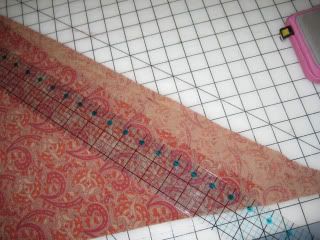
This one is going to be a square 28 inches wide (then cut into a triangle). So measure your width (over the fold) and then measure the length (same direction as the fold). Draw a line or cut directly using a rotary tool and ruler.
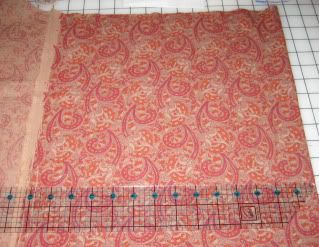
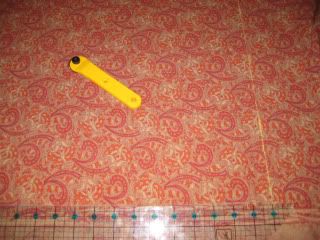
Now you have a square. Draw a line from one corner to the other and then cut - making 2 equal triangles.
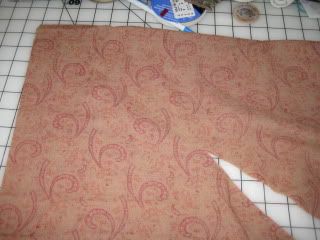
Now we'll work with one of the triangles.
I don't always cut straight when sewing for myself, so I fold it over and make sure it's even. If not, I'll trim the edge to make it even.
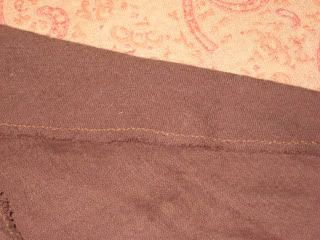
The most basic thing is to just hem or finish the edges and leave it a triangle. For my brown one, which had no obvious right side, I just finished it with a narrow zig-zag stitch. I tried to show it in this photo by adjusting the color of my photo - use the same color thread so it blends :) . Gauze and many other light weight fabrics will frey (come apart) so you must do something to finish the edges. Sewing a zig-zag stitch around (ideally twice) will give it a rustic look more-so than a double pressed edge.
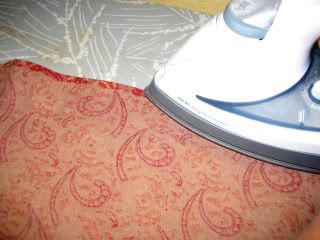
For the printed one I'm showing here, I am sewing double pressed edge because there is an obvious right/wrong side. If you have a serger, you can do a rolled hem. Lay your triangle flat and iron a narrow hem. Then go around again, folding a second time, so you cannot see any raw edges. Then sew with a straight stitch. You can even do this by hand if you don't have a machine.
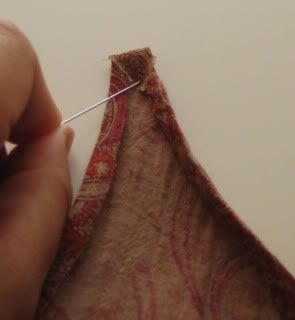
When you get to the corners, you may have to tuck in the edges or you will have long pointy, almost string-like, ends. I like to fold down the tip (sometimes even trim just a pinch off of it) and tuck it in.
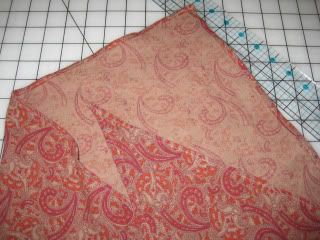
End then you are done -you have a basic triangular headscarf that can be worn many ways :)
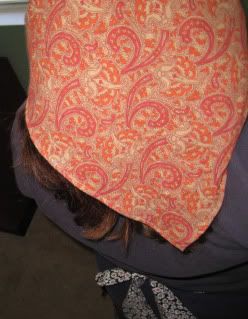
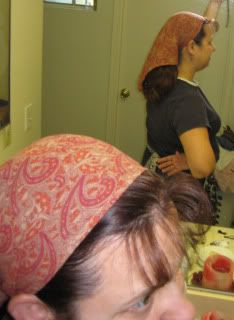
Now, if you want a more rounded veil like scarf, you just cut a little differently. When you get to the point of having a triangle, after making sure it's even, you'll cut a slightly rounded curve at the end that will hang down in the back. I like to do this on the fold to make sure I cut evenly, but you can cut it however you wish. After you cut it, hold it up and look at it, try it on, and see if it is more or less the way you want it (remember you will be hemming it).
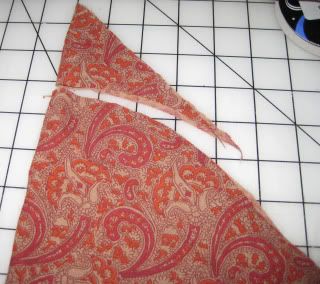
Then hem like you did above and this gives you more of a veil type headcovering.
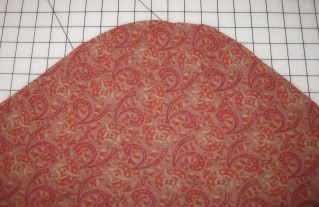
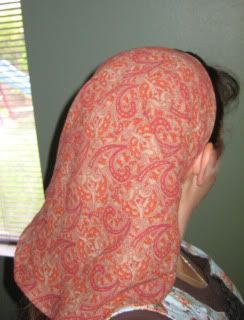
I sometimes wear mine longer and sometimes fold them shorter.
Worn long without any folding.

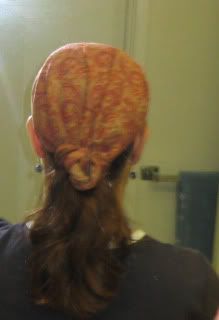
If you fold it shorter and nice style is to twist the ends before tying.
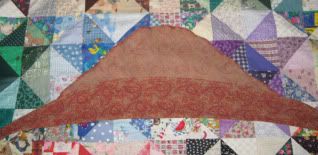
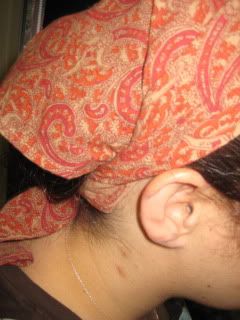
I like this style because it can be worn with the hair up or down.
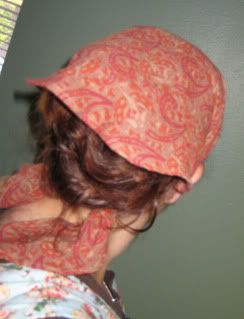
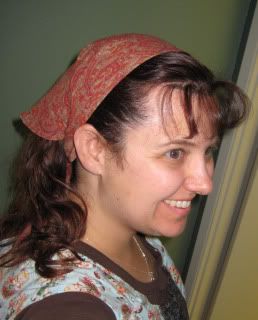
I hope this helped a little bit. I'll try to add some more instructions on how to sew various headcoverings in the future.
